Connect to a DSA server
This tutorial takes you from "I have a server address" to "I am signed in and can see my data". It takes about two minutes.
Before you start
You need:
- The web address of a DSA instance. A local install from Install on one machine answers on http://localhost:8080. The public demo is https://demo.kitware.com/histomicstk/. Use your own address everywhere below.
- An account on that instance, or permission to create one.
Address, not credentials
A DSA server is a web application. You connect with a browser; you do not install a desktop client. The only thing you need from your administrator is the URL and an account.
1. Open the server address
Enter the base address in your browser, for example:
or
You should see the DSA home page with a navigation bar across the top and Register / Log In links in the upper-right corner.
Use HTTPS in production
localhost over plain HTTP is fine for a local test. Any shared or
internet-facing instance should be served over HTTPS.
2. Sign in
- Select Log In in the upper-right corner.
- In the Log in dialog, enter your Login or email and Password. If two-factor authentication is enabled on your account, also enter the Two-factor code.
- Select Login.
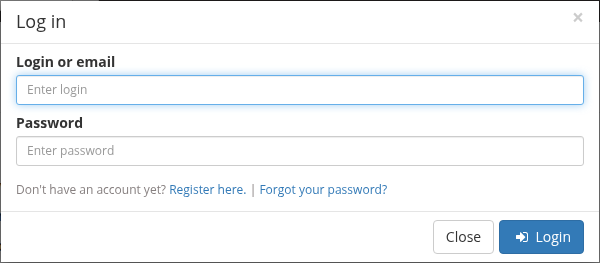
The default administrator account on a fresh reference install is admin with
password password. Change that password immediately; see
Upload and view your first slide.
If you do not have an account
If the server allows self-registration, the Register link is shown next to Log In. Select it and fill in the Sign up dialog:
- Choose a login name
- Enter email address
- Enter first name and Enter last name
- Choose a password and Retype password
Then select Register. You are signed in after the account is created.
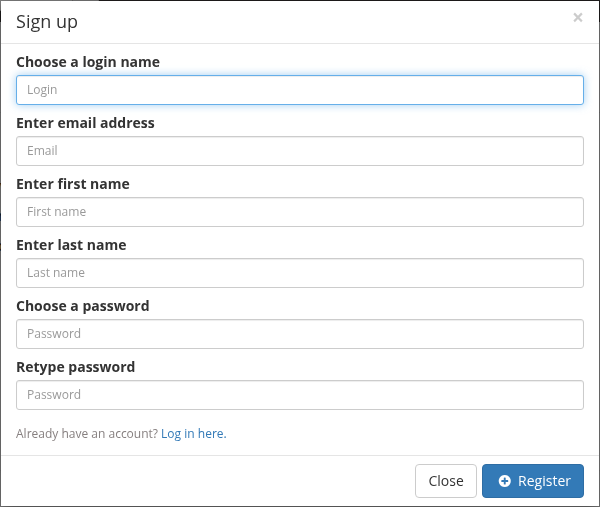
If there is no Register link, registration is closed on that server. Ask the administrator to create an account for you.
3. Confirm that you are connected
When you are signed in:
- The upper-right corner shows your login name instead of Register and Log In.
- Selecting your name opens a menu with My folders, My account, and Log out.
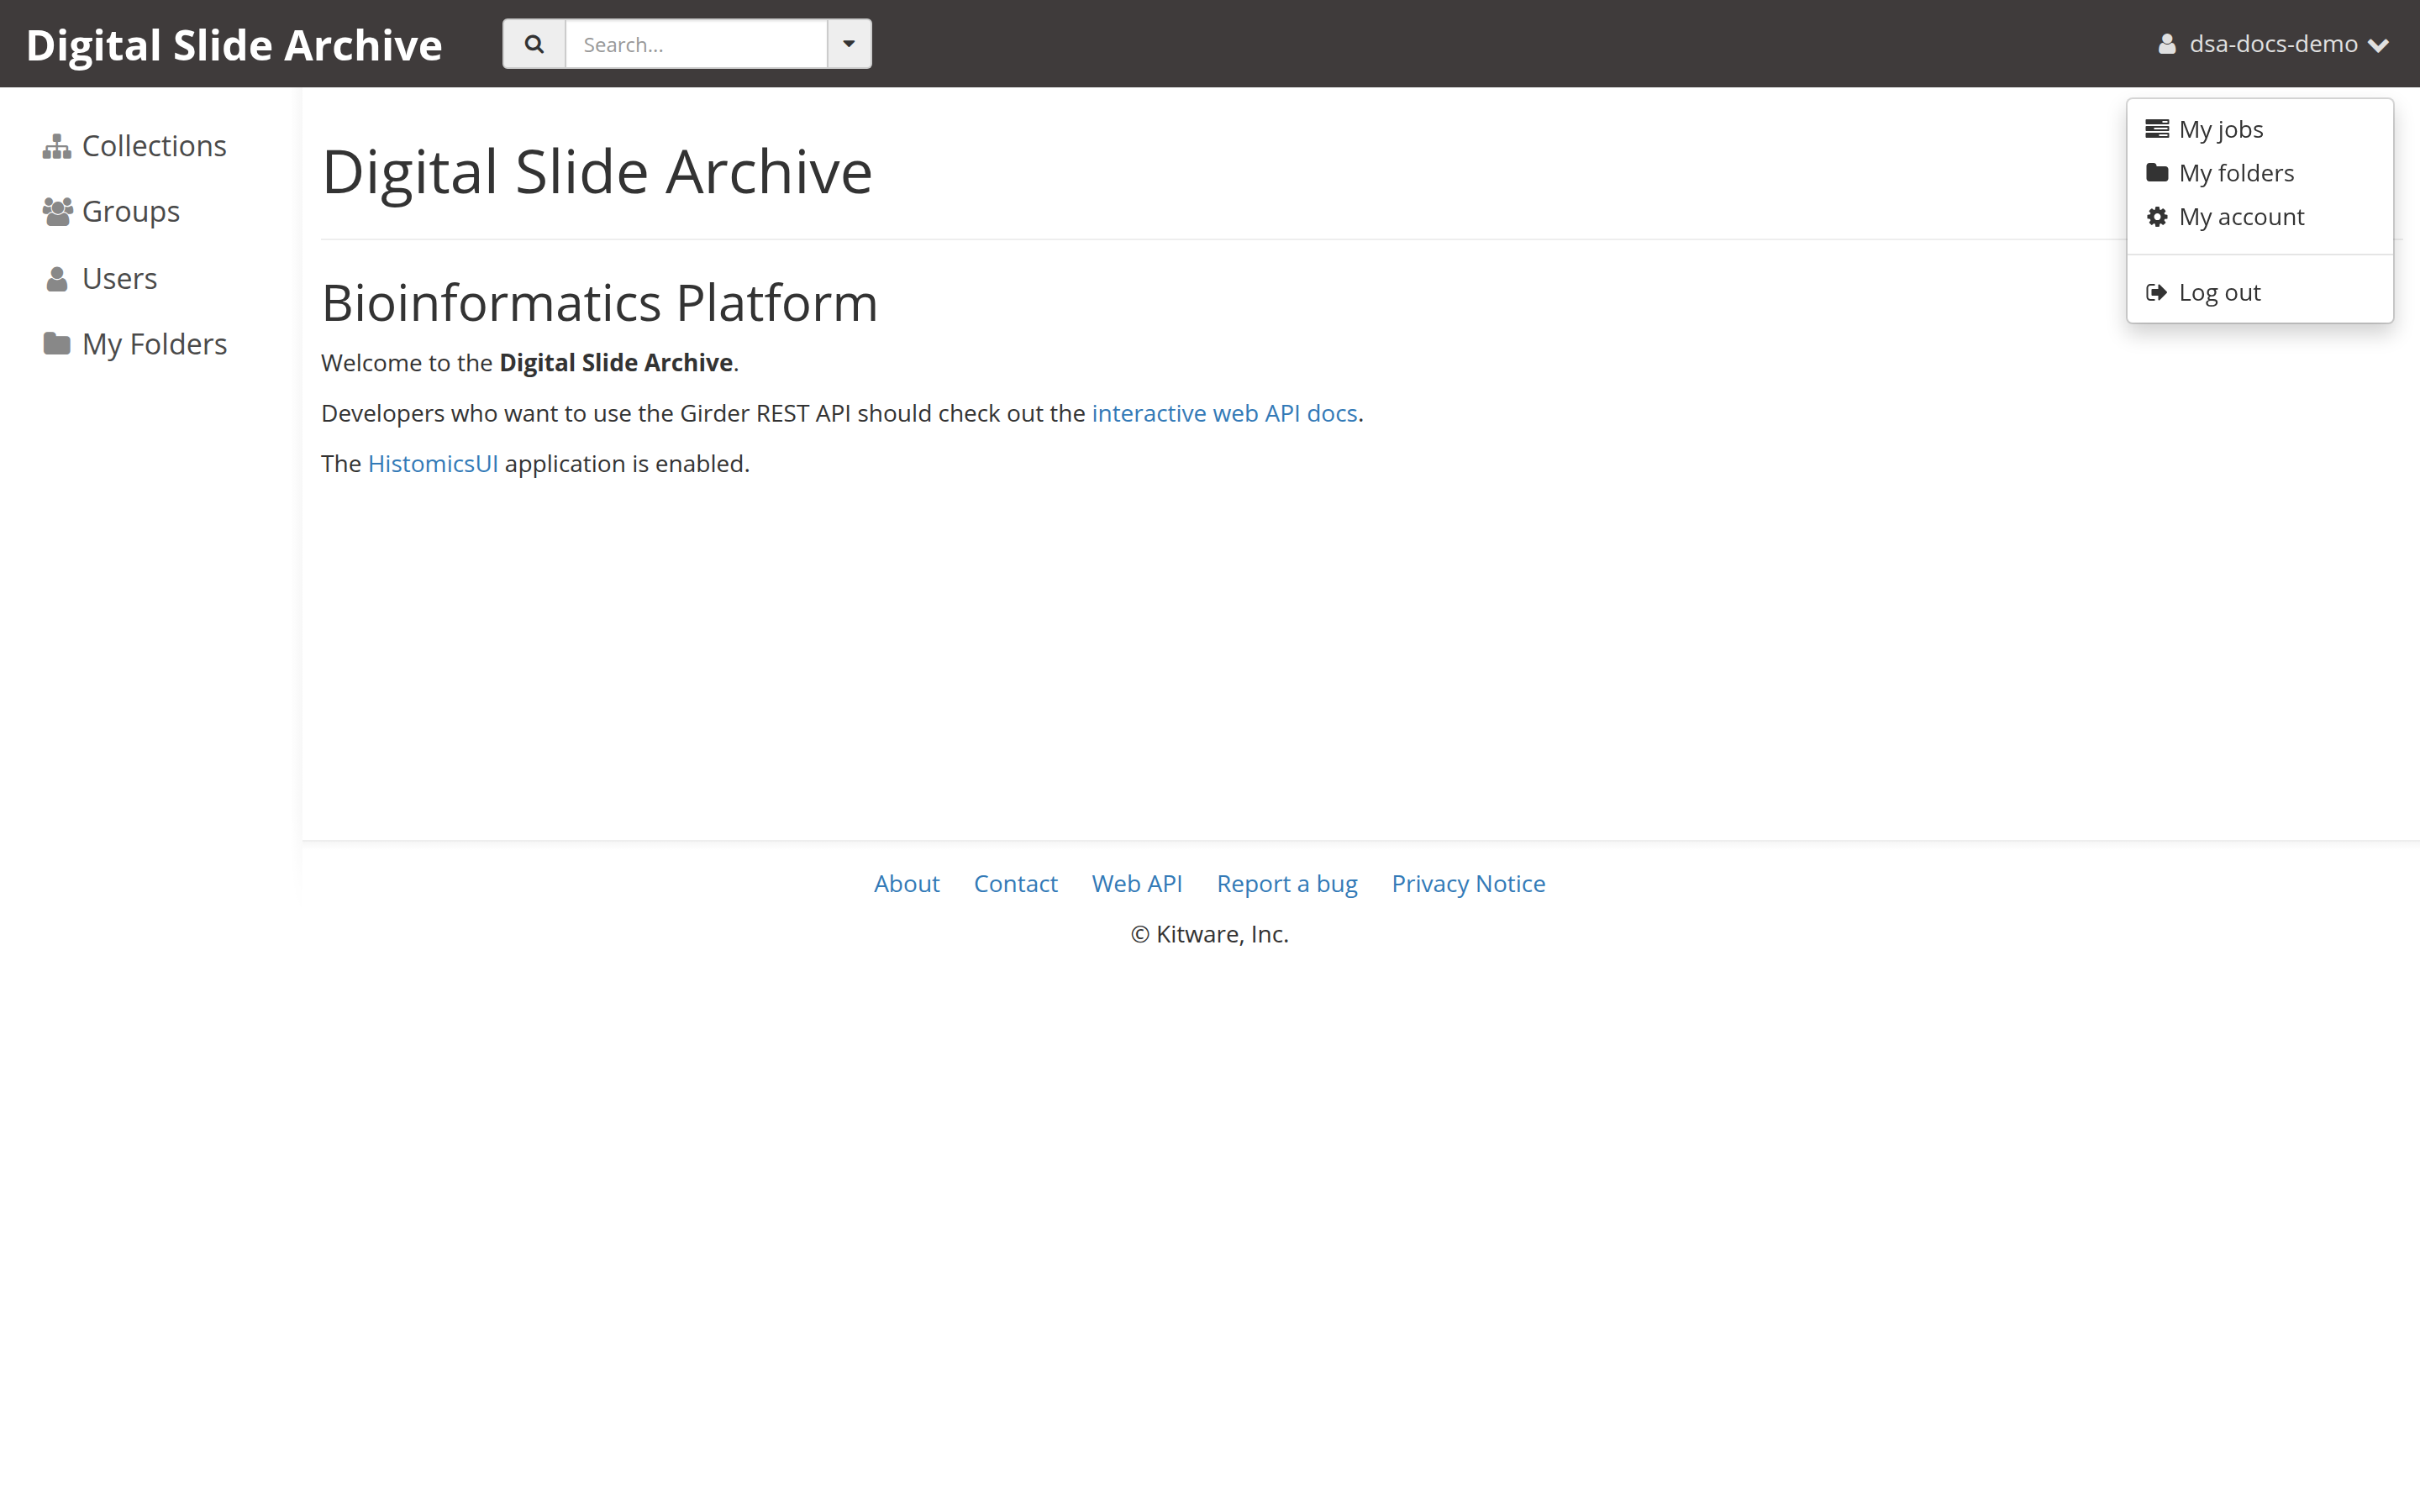
If you still see Log In, the sign-in did not complete. Check the troubleshooting table below.
4. Find your workspace
DSA stores data in two places you will use first:
| Location | What it is | Who can see it |
|---|---|---|
| Collections | Shared, permission-controlled trees of folders and items. | Everyone with read access to the collection. |
| My folders | Your personal space, reached from the menu under your login name. | You, unless you grant access to others. |
Open Collections from the top navigation to browse shared data, or open My folders to start in your own space. The Create a folder tutorial continues from either one.
Connect from a script (optional)
For notebooks and command-line tools, use an API key instead of your password. You can create one in the web interface.
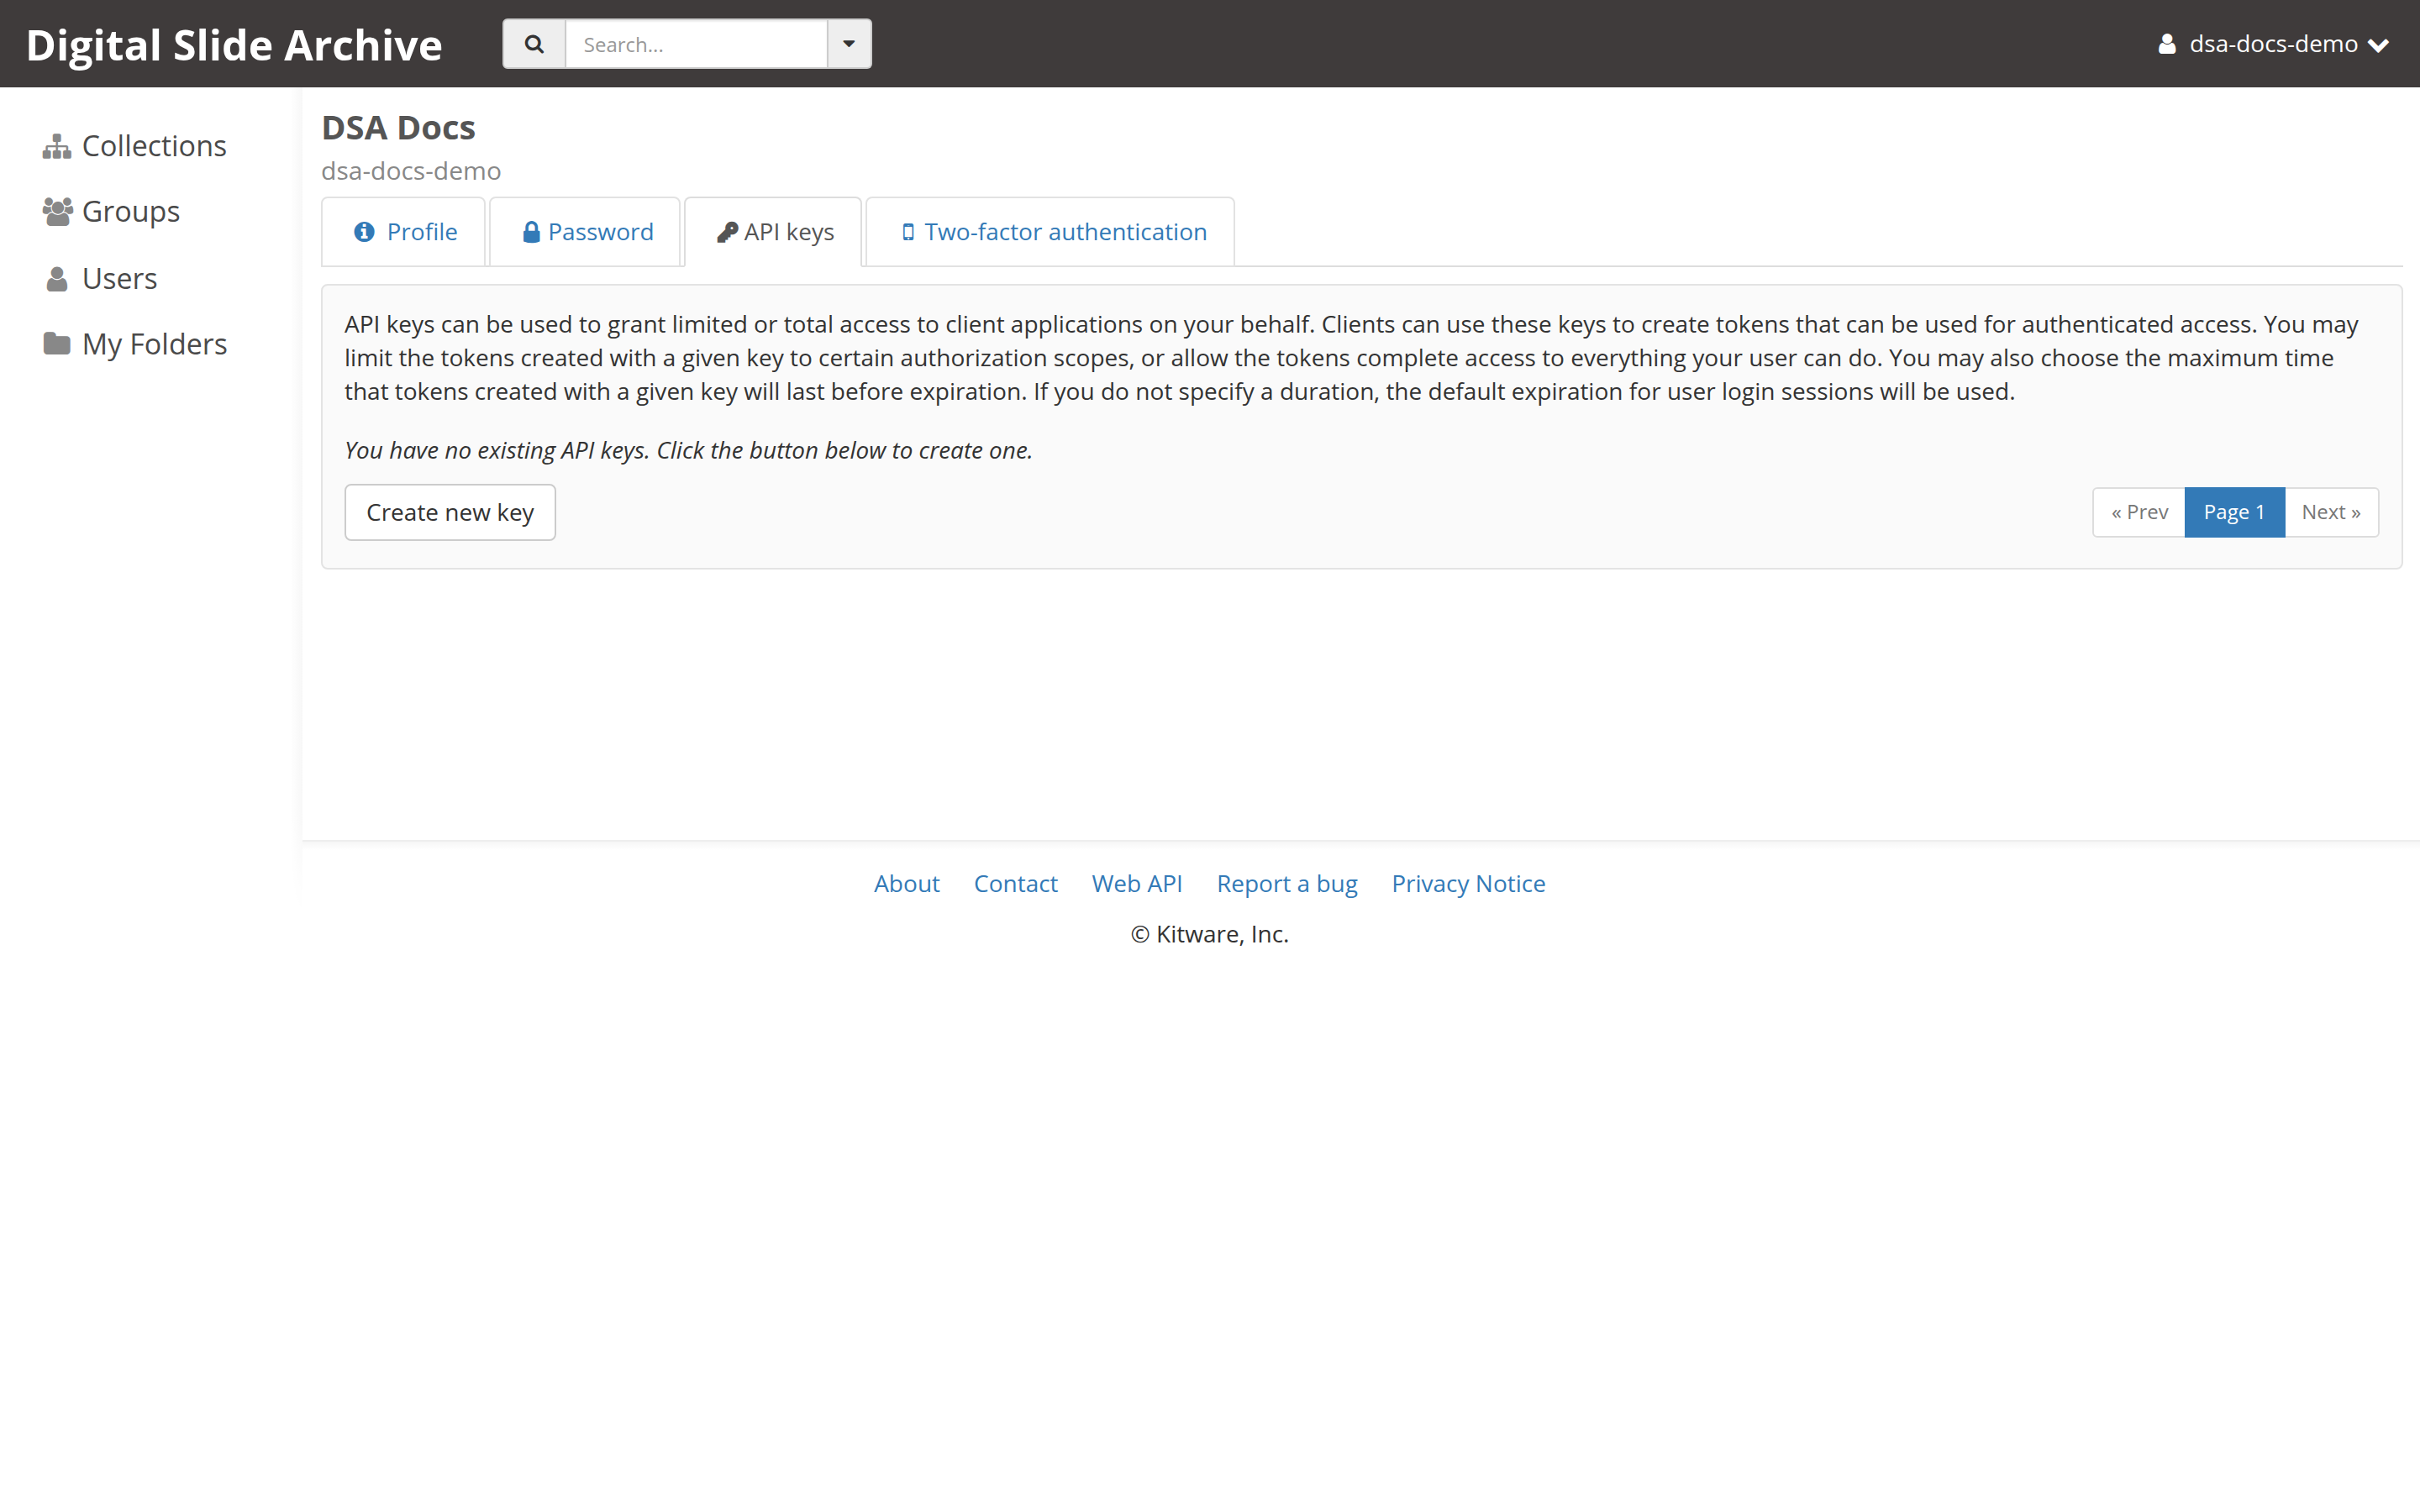
- Open the menu under your login name and select My account.
-
Select the API keys tab.
-
Create a key with a name you will recognize, such as
laptop-notebooks. - Copy the key. The list has a show link if you need to reveal it again.
Then exchange the key for a session token and make a request:
export DSA_URL=https://your-dsa.example.com
export DSA_API_KEY=paste-your-key-here

TOKEN=$(curl -s -X POST "$DSA_URL/api/v1/api_key/token" \
  -d "key=$DSA_API_KEY" \
  | python3 -c 'import json,sys; print(json.load(sys.stdin)["authToken"]["token"])')

curl -s -H "Girder-Token: $TOKEN" "$DSA_URL/api/v1/user/me"
The last command returns your user record. Tokens expire; create a new one rather than storing it indefinitely.
API keys may be disabled
An administrator can turn off API keys for the instance. If the API keys tab or the create button is missing, use your username and password with the Python client instead. See the Python client reference.
Troubleshooting
| Symptom | Likely cause | Fix |
|---|---|---|
| The browser cannot reach the address | Wrong host or port, or the server is not running | Confirm the URL with your administrator. For a local install, check docker compose ps and open http://localhost:8080. |
| A certificate warning appears | Self-signed certificate on a test server | Only bypass it for a server you control. Production instances should use a trusted certificate. |
| Login fails with "Login failed" | Wrong login or password, or the account does not exist | Retry carefully; ask the administrator to reset the password if needed. |
| The Register link is missing | Self-registration is closed | Ask an administrator to create the account. |
| Sign-in succeeds but you see no data | You are signed in but have no read access to any collection | Open My folders to confirm your account works, then ask for access to the collection you need. |
The API key request returns Invalid API key |
The key was copied incorrectly, deleted, or deactivated | Create a new key and copy the whole value. |
The API key request returns API key functionality is disabled |
The administrator disabled API keys | Use username/password authentication instead. |
Next
Verified status
Checked on 2026-11-01 against the live test instance
https://pub-data.bdsa.io/ (Girder API 5.0.20.dev2+ge191b30e7), using a
headless Chromium browser, and against the Girder 3.x-maintenance source at
71e5fba.
Live-tested by signing in with a test account: the Log in dialog, the signed-in user menu (My jobs, My folders, My account, Log out), My folders, My account, and the API keys tab all matched this page. The account was created through the Sign up dialog described above.
The Two-factor code field is present in the login dialog markup but was not exercised, because the test account does not have two-factor authentication enabled.